
Introduction
Getting the gap setting right on your 3300 XL 8mm probe is absolutely critical. This simple adjustment forms the foundation of your entire machinery protection system. An incorrect gap can lead to false alarms or, worse, a failure to detect a real problem. This guide will walk you through the entire process, from theory to practical tips, ensuring your system operates with maximum reliability. For genuine replacement probes and accessories that guarantee performance, always trust reputable suppliers like World of PLC Limited. Explore their range of high-quality sensors at https://worldofplc.com/.

Understanding the Importance of Correct Gap Setting
The gap between your probe tip and the target material directly influences the system’s output voltage. The 3300 XL system expects a specific voltage range to represent the gap’s dynamic motion. Setting the gap incorrectly shifts the operating point on the calibration curve. This mistake can make your system either less sensitive or cause it to clip the signal during normal operation. You essentially blind your monitoring system to genuine machine faults.
The Tools and Pre-Setup Checklist You Will Need
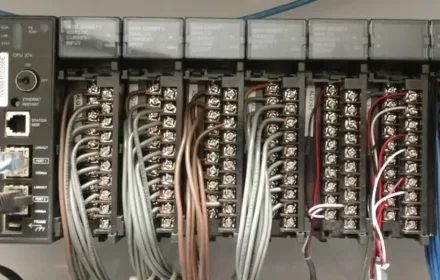
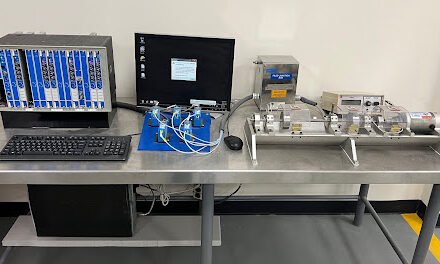
You must gather a few essential tools before starting the installation process. You will need a high-quality digital voltmeter (DVM) for accurate DC voltage measurement. Always ensure the probe tip and target surface are clean and free of debris. Finally, verify the probe and extension cable are properly connected to the monitor. This prevents you from troubleshooting a wiring error instead of adjusting the gap.
Step-by-Step Guide to Setting the Probe Gap
First, power up the 3300 XL monitoring system and connect your DVM to the monitor’s test points. You should measure the DC voltage between the output terminal and the common terminal. Gently press the probe against the target surface and then slowly back it away. The voltage will increase as you create a larger gap. Adjust the probe’s position in its mount until your DVM reads between -10 VDC and -12 VDC. This voltage range represents the ideal 1.0 mm (40 mils) gap for most 8mm probes. Finally, securely tighten the probe locknut without letting it rotate.

Common Mistakes and How to Avoid Them
A very common error is using the wrong target material for calibration. The 3300 XL 8mm probe is calibrated for AISI 4140 steel. Using a different material will require a correction factor. Another mistake is not allowing the system to thermally stabilize. machinery and probes expand with heat, which can change the gap. Always perform a final check after the machine reaches its normal operating temperature. Never use force to adjust the probe, as this can easily damage the delicate tip.
Verification and Best Practices for Long-Term Reliability
Do not consider the job finished after you tighten the locknut. Gently tap the probe or its cable and watch the DVM reading. The voltage should remain stable and not fluctuate. Any movement indicates a loose connection or a faulty probe. Document the final gap voltage for future reference and maintenance checks. Regularly inspect the probe tip for any signs of wear or coating buildup. For long-term reliability, always use components designed for industrial duty. You can find durable and reliable 3300 XL compatible probes at World of PLC Limited‘s online store: https://worldofplc.com/.

Conclusion: Precision Ensures Protection
Setting the gap on your 3300 XL 8mm proximity probe is a fundamental skill. Precision in this simple task ensures your vibration monitoring system receives accurate data. This accuracy allows it to properly protect your valuable rotating machinery from catastrophic failure. By following these steps and avoiding common pitfalls, you significantly enhance your plant’s reliability. Investing a few extra minutes to get the gap right saves countless hours of downtime and expensive repairs later.


